Lesson 4: Introduction To Volume Profile Copy
In this lesson we’ll be going over my favorite charting study, Volume Profile.
Adding Volume Profile to your charts
Thinkorswim
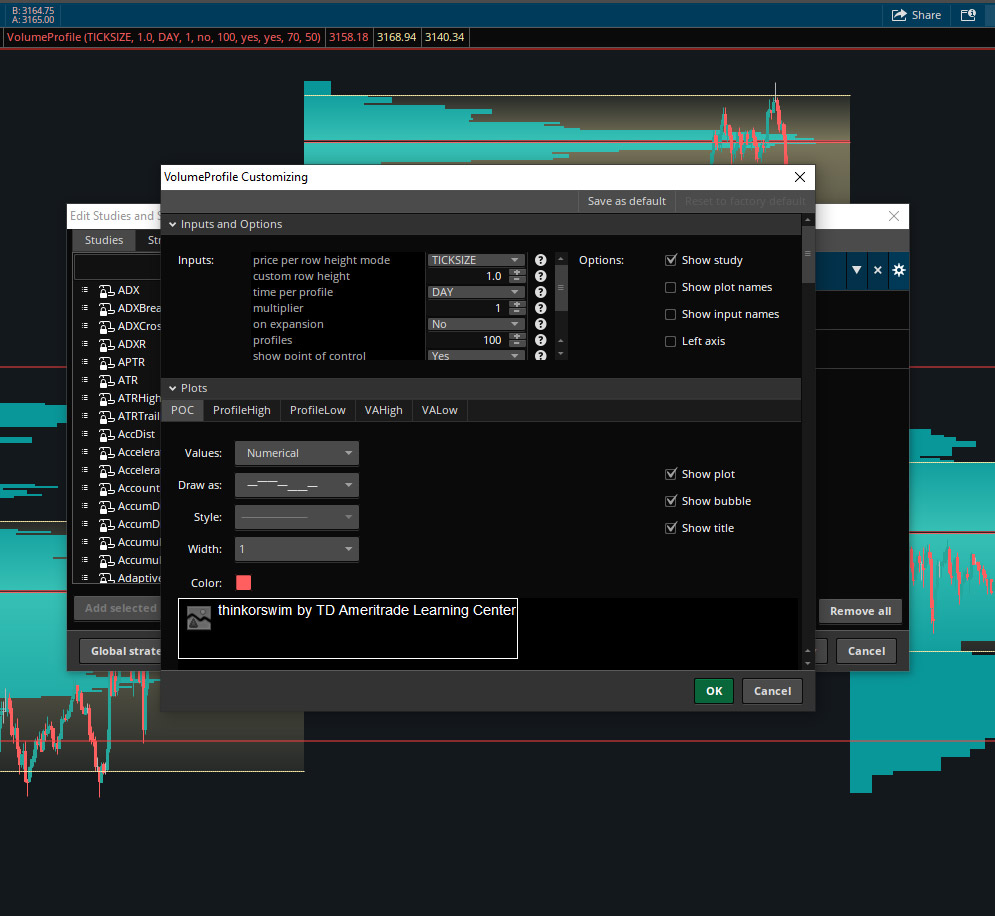
1. Add the “VolumeProfile” study to your charts
2. Copy the settings shown below. This will add a volume profile to every trading day. (click image to enlarge)
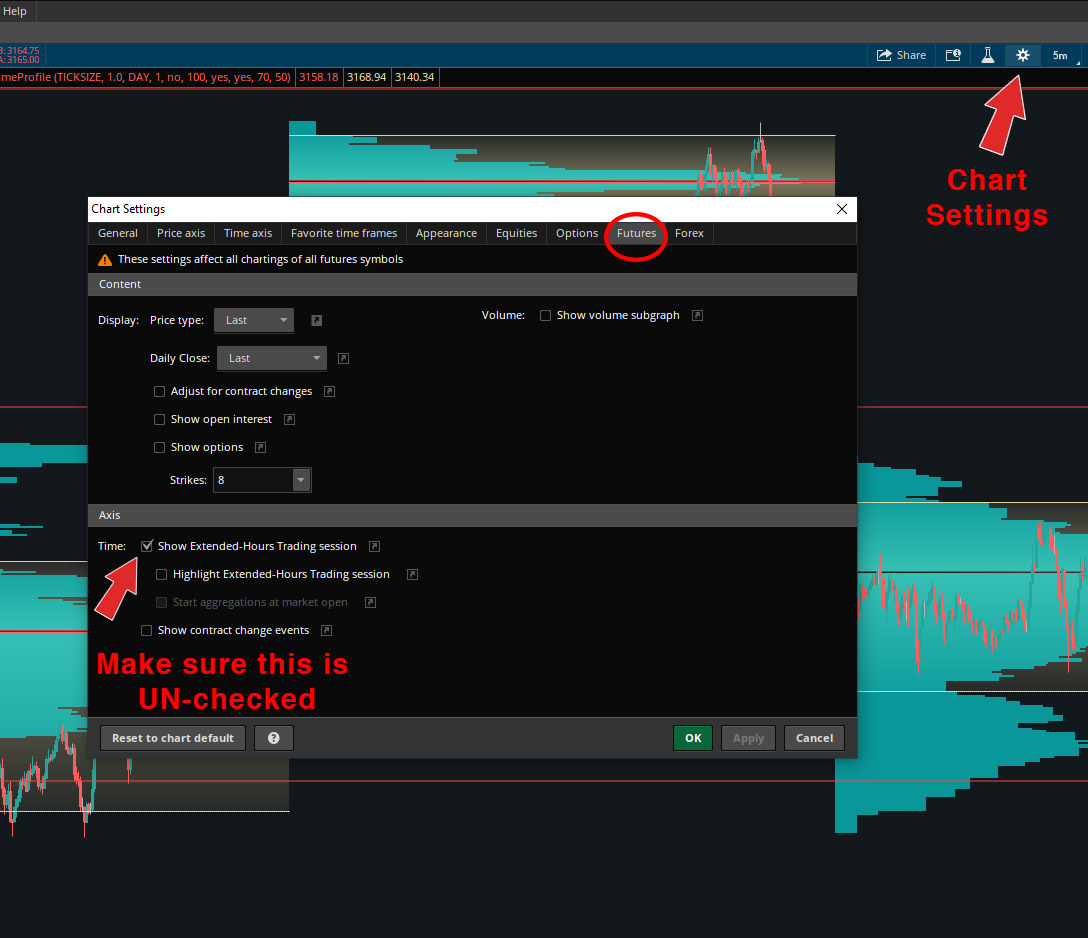
3. The settings above will add a volume profile to every trading day but will not differentiate between RTH & ETH sessions. To this day I have not found a good enough option to do this on T.O.S.
4. To make the Volume Profiles show for only RTH sessions, see image below. 1. Click on chart settings 2. Click the “Futures” tab 3. Un-check the “Show Extended-Hours Trading session” box. (click image to enlarge)
Thinkorswim
In order to add Volume Profile to your charts on TradingView, they do require you to have a “Pro” membership. This costs $14.95/month. (I am in no way affiliated with TradingView.com). If you enjoy TradingView and would prefer to chart on their platform, you can go ahead and do that. Keep in mind though, that you will have delayed market data unless you upgrade to one of their real-time data plans which can be a little pricey. For those that are budget-conscious, I would recommend using TOS. It’s free real-time data with an account. Just remember that you will not be able to differentiate RTH & ETH volume profiles, which may be an issue when overnight profiles are better used.
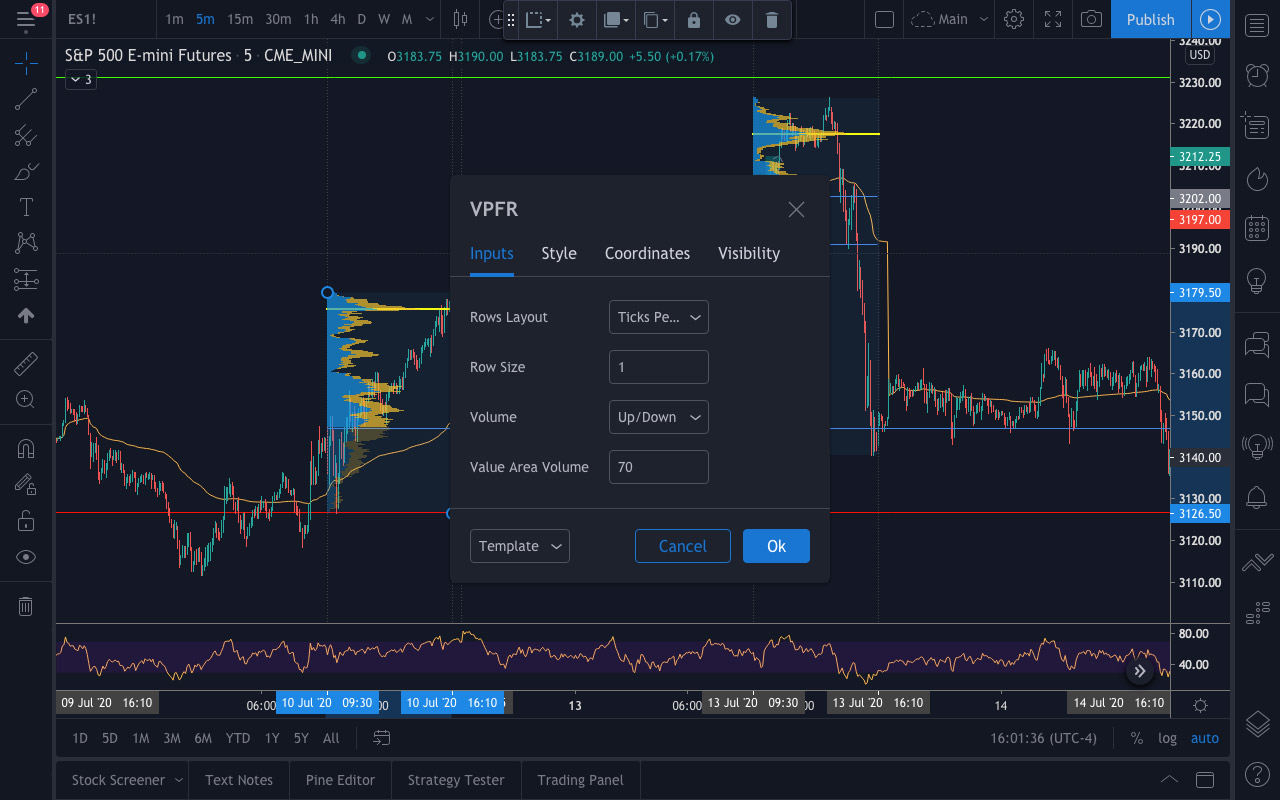
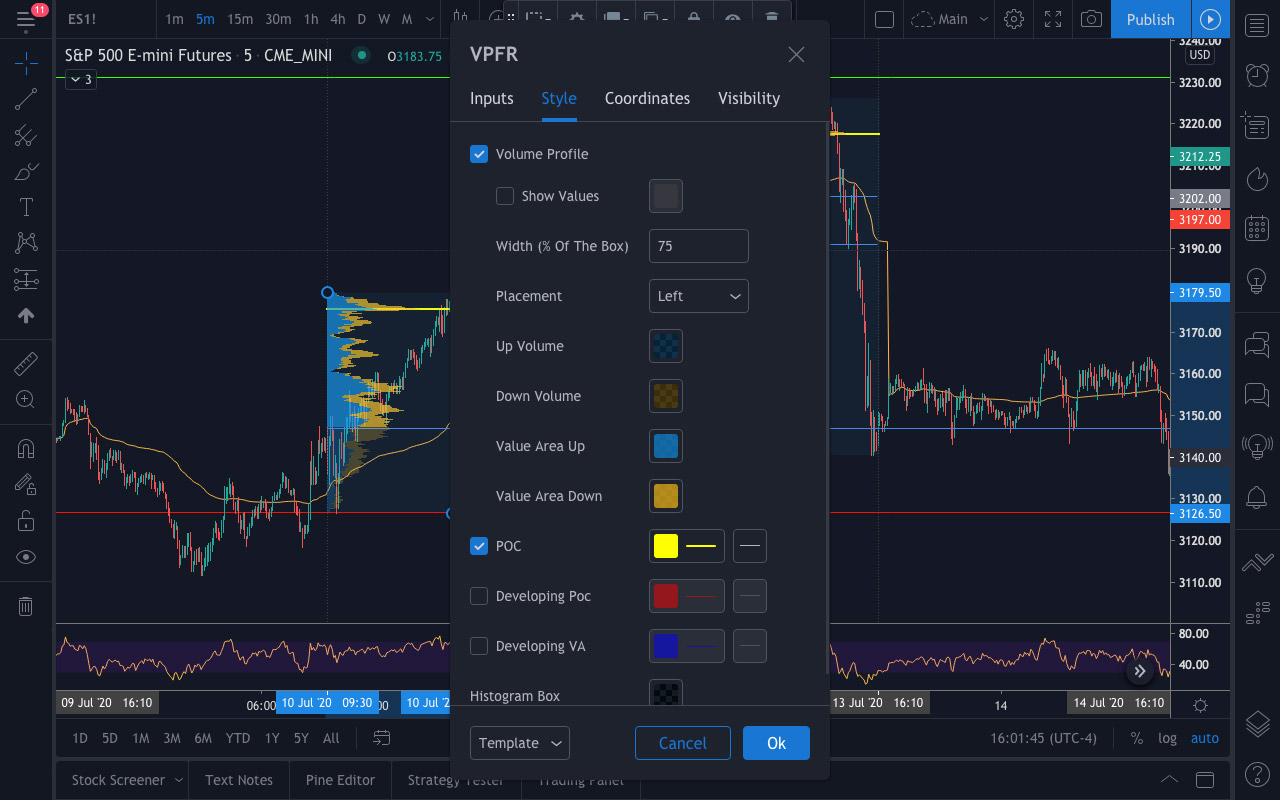
Once you have a pro membership, it’s as simple as adding them to your charts.
1. Click on the indicators button, then choose the Volume Profile tab. Choose “Fixed Range” and draw the profile by clicking at any two points ex. 9:30am & 16:10pm